
Hydration is the secret to healthy, glowing skin. But did you know you can create your very own custom-blend hydrator at home? Yes, you can! Making your own hydrator is not only fun but also allows you to tailor it to your skin’s specific needs. Whether you have dry, oily, or sensitive skin, a custom hydrator can work wonders for you.
In this article, I’ll walk you through 5 amazing ideas to create your custom-blend hydrator. I’ll also share tips, ingredients, and step-by-step instructions to help you get started. Plus, I’ve included helpful links to make your journey even easier. Let’s dive in!
Also Read: The 9 Best Beauty Investments I Have to Make in 2025
Why Create a Custom-Blend Hydrator?
Store-bought hydrators are great, but they often contain chemicals or ingredients that might not suit your skin. By making your own hydrator, you can:
- Control the ingredients: Use only natural, skin-friendly ingredients.
- Save money: DIY hydrators are often cheaper than store-bought ones.
- Customize for your skin type: Create a hydrator that addresses your specific skin concerns.
- Avoid harmful chemicals: Skip the preservatives and synthetic fragrances.
How to Create a Custom-Blend Hydrator?
Ready to get creative? Let’s explore 5 amazing ideas for your custom-blend hydrator!
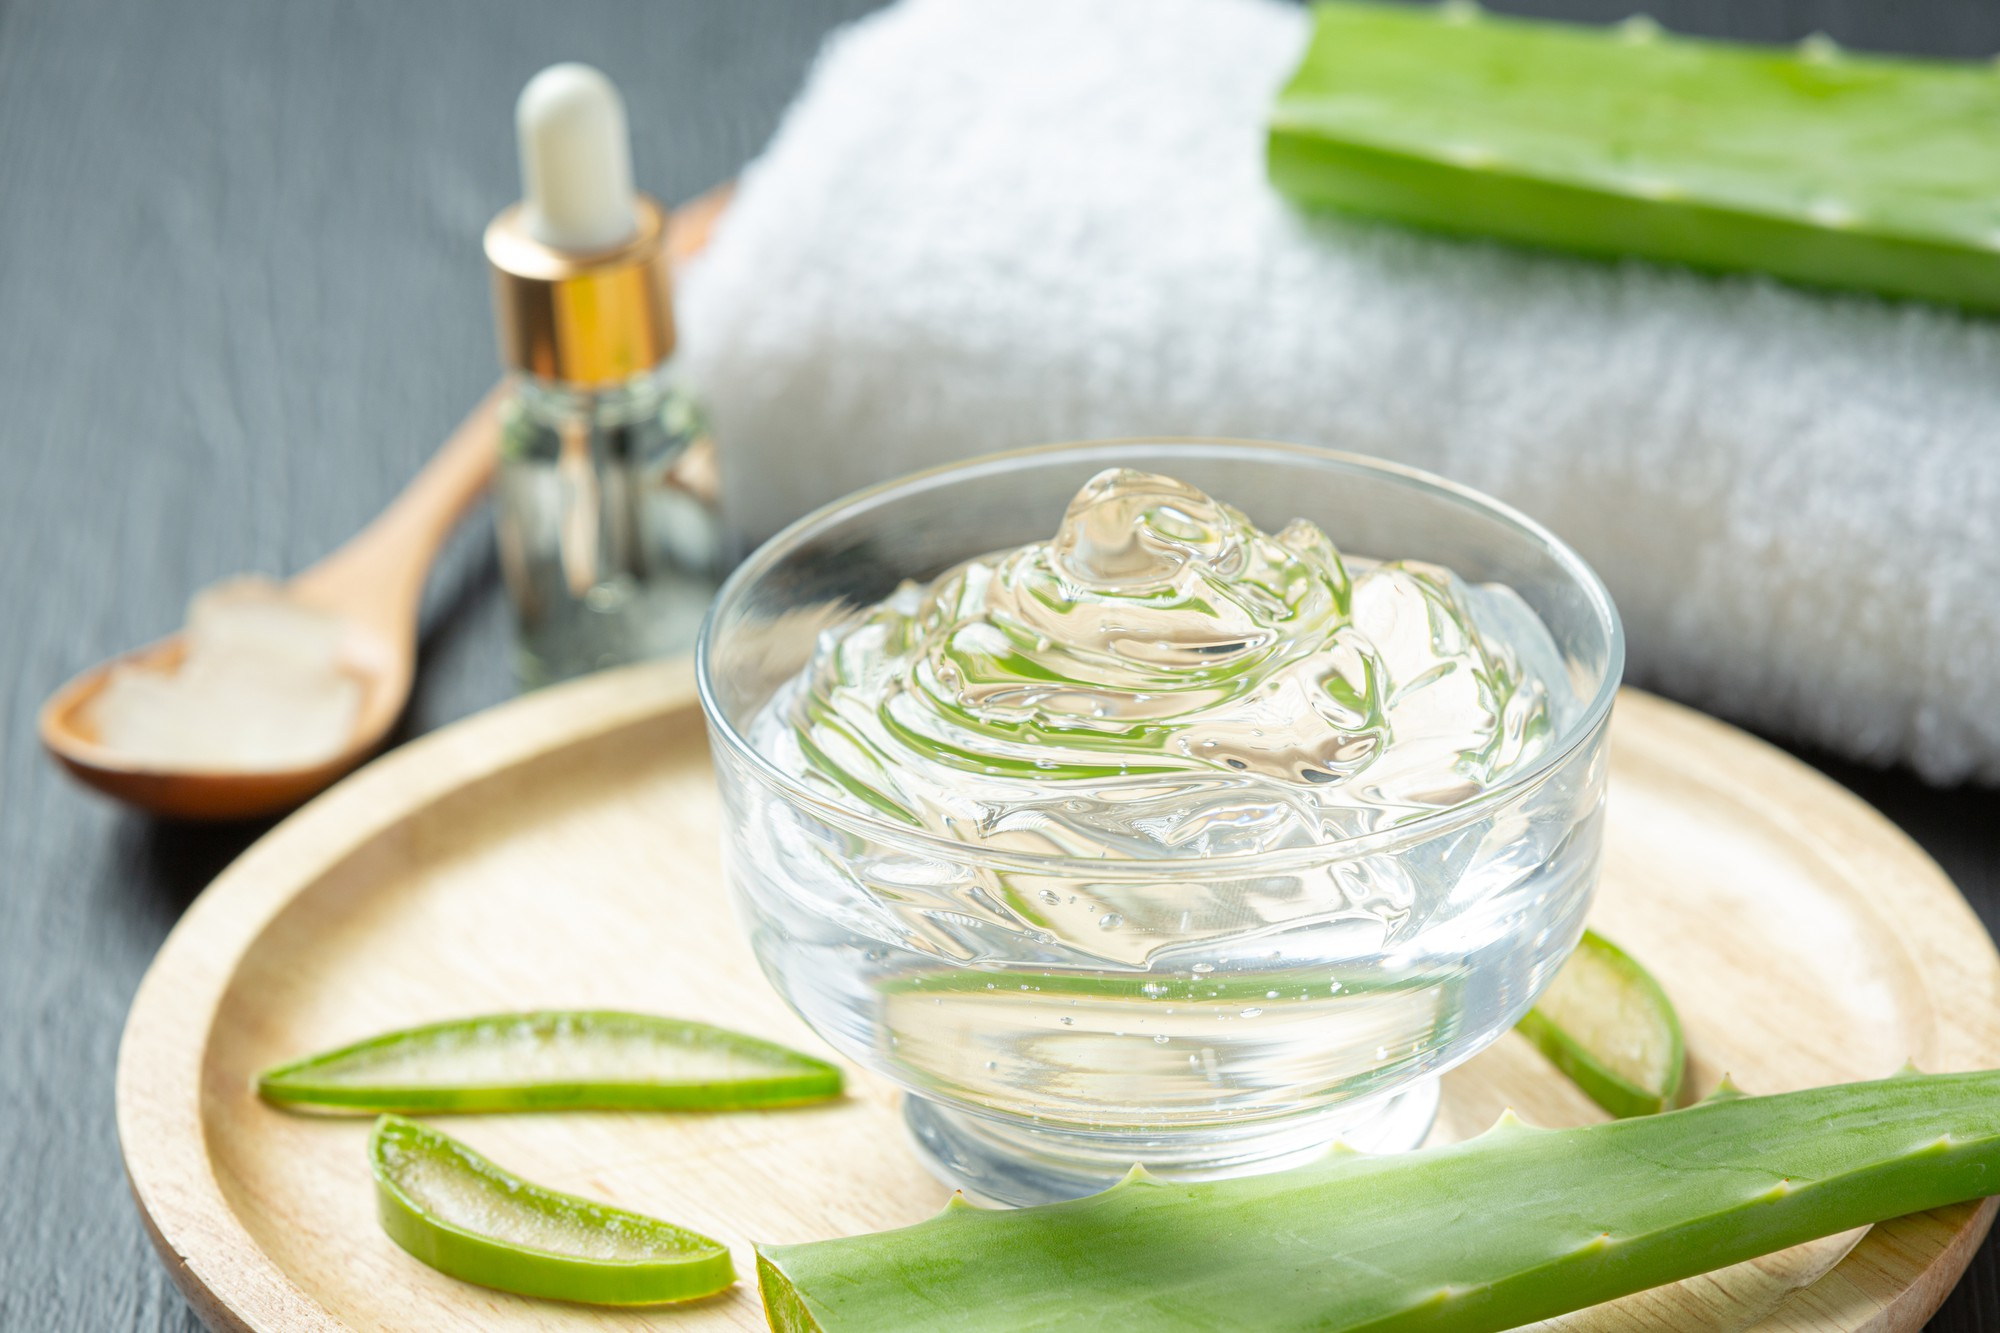
1. Aloe Vera and Rosewater Hydrator
Aloe vera is a natural moisturizer, and rosewater is known for its soothing properties. Together, they make a perfect hydrator for all skin types.
Ingredients:
- 2 tablespoons of fresh aloe vera gel
- 1 tablespoon of rosewater
- 3-4 drops of glycerin (optional, for extra hydration)
How to Make It:
- Extract fresh aloe vera gel from an aloe leaf. If you don’t have an aloe plant, you can use store-bought aloe vera gel (make sure it’s 100% pure).
- Mix the aloe vera gel and rosewater in a small bowl.
- Add glycerin if your skin is very dry.
- Transfer the mixture to a clean spray bottle.
- Shake well before use.
How to Use: Spray it on your face after cleansing or whenever your skin feels dry. Store it in the fridge for a cooling effect.
Why It Works: Aloe vera hydrates and heals, while rosewater balances your skin’s pH.
Helpful Links:
Also Read: 08 Best Body Lotions with Retinol: Your Secret to Youthful Skin
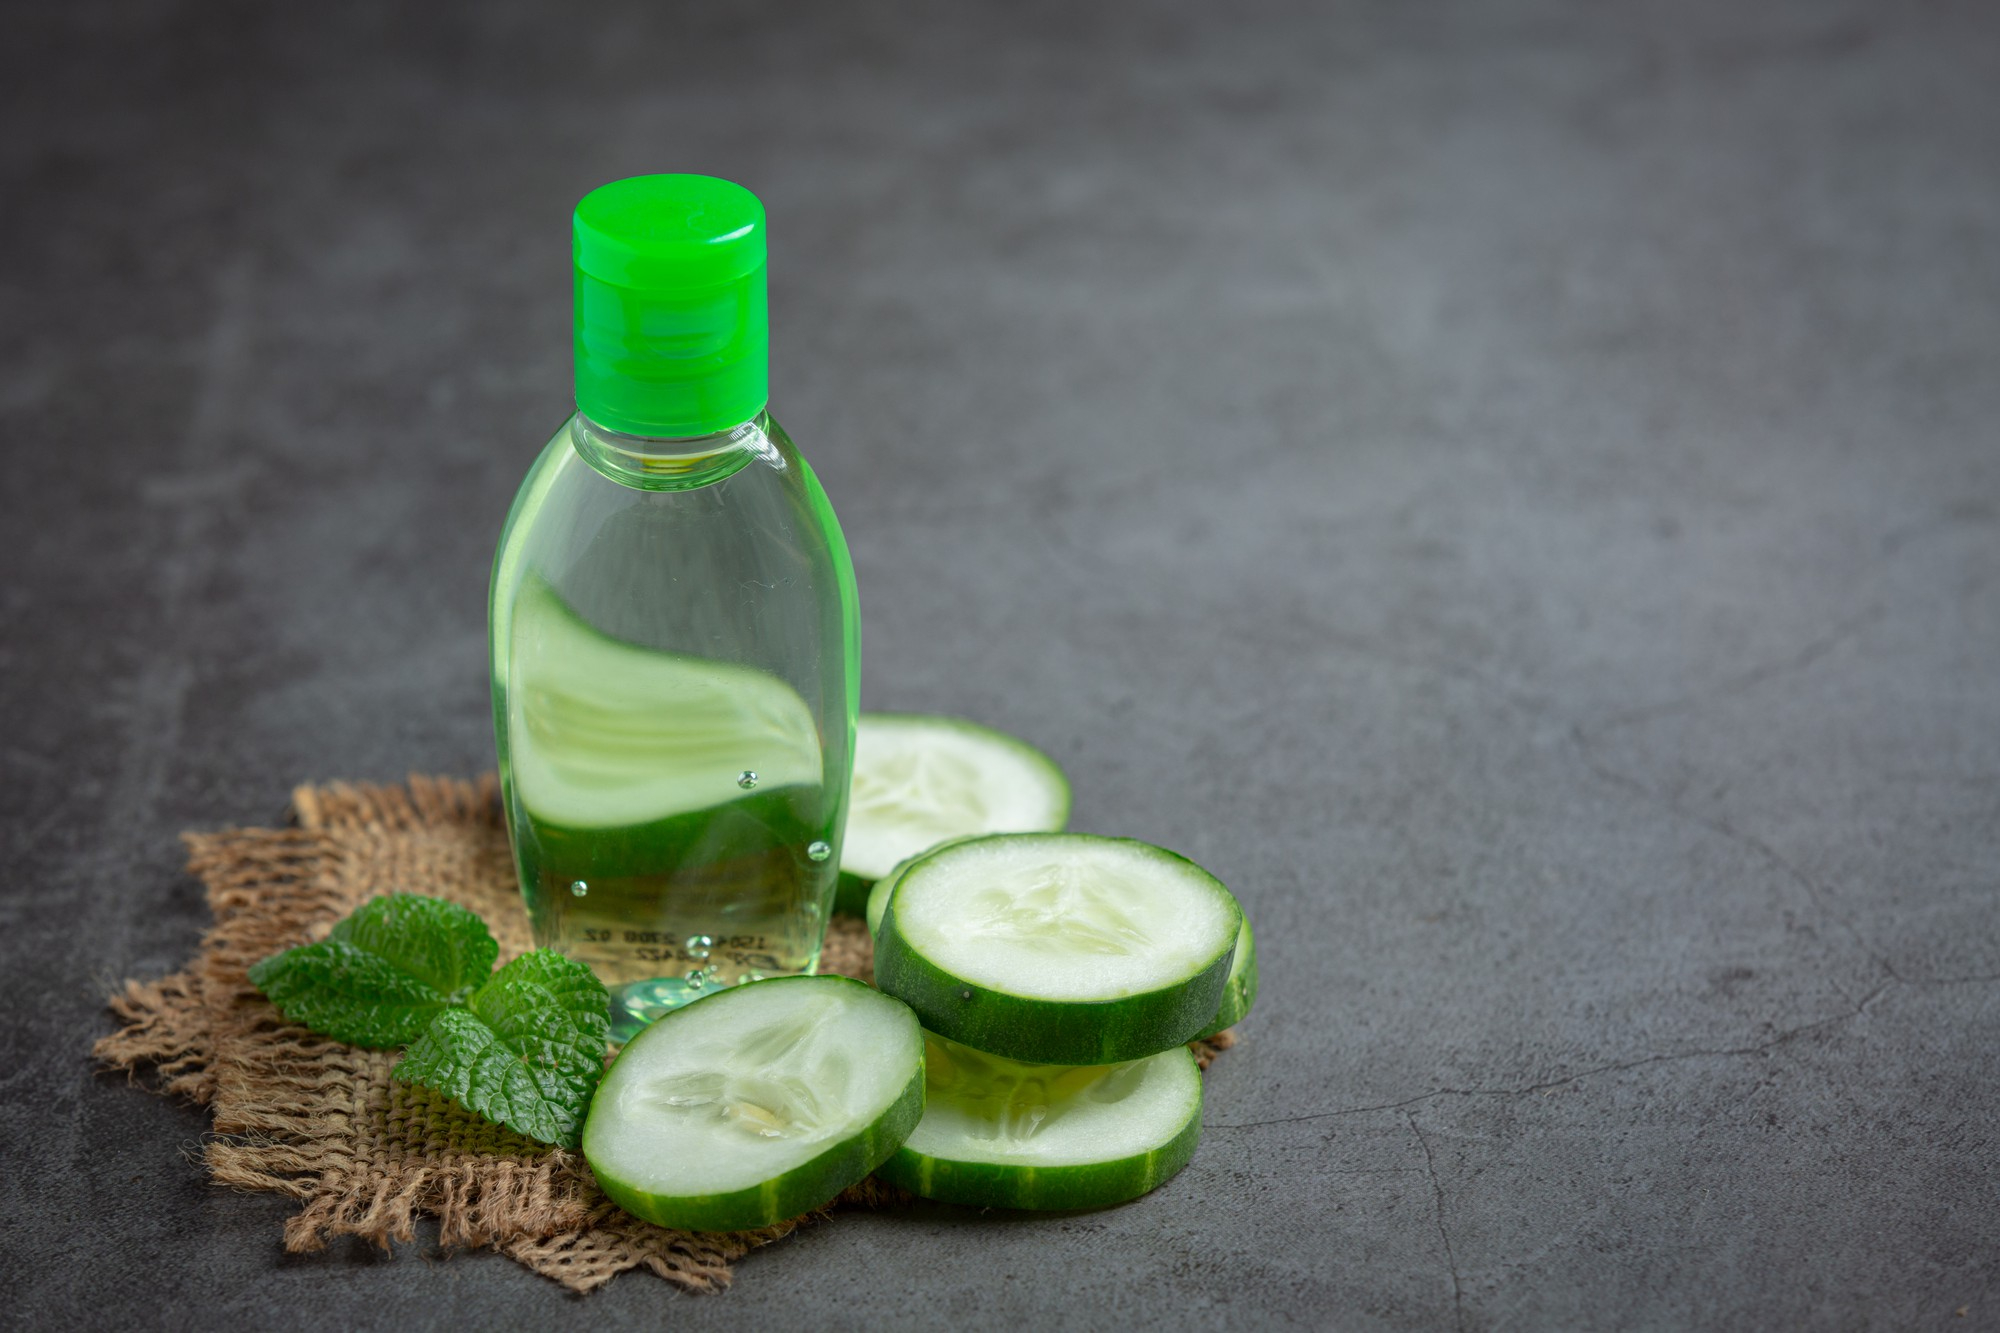
2. Green Tea and Cucumber Hydrator
Green tea is packed with antioxidants, and cucumber is incredibly refreshing. This hydrator is perfect for oily or acne-prone skin.
 Ingredients:
- 1 green tea bag
- 1/2 cup of hot water
- 1/4 cucumber (blended and strained)
How to Make It:
- Steep the green tea bag in hot water for 5 minutes. Let it cool completely.
- Blend the cucumber and strain the juice.
- Mix the green tea and cucumber juice in a spray bottle.
- Shake well before use.
How to Use: Spray it on your face in the morning or after a workout to refresh your skin.
Why It Works: Green tea reduces inflammation, and cucumber soothes and hydrates.
Helpful Links:
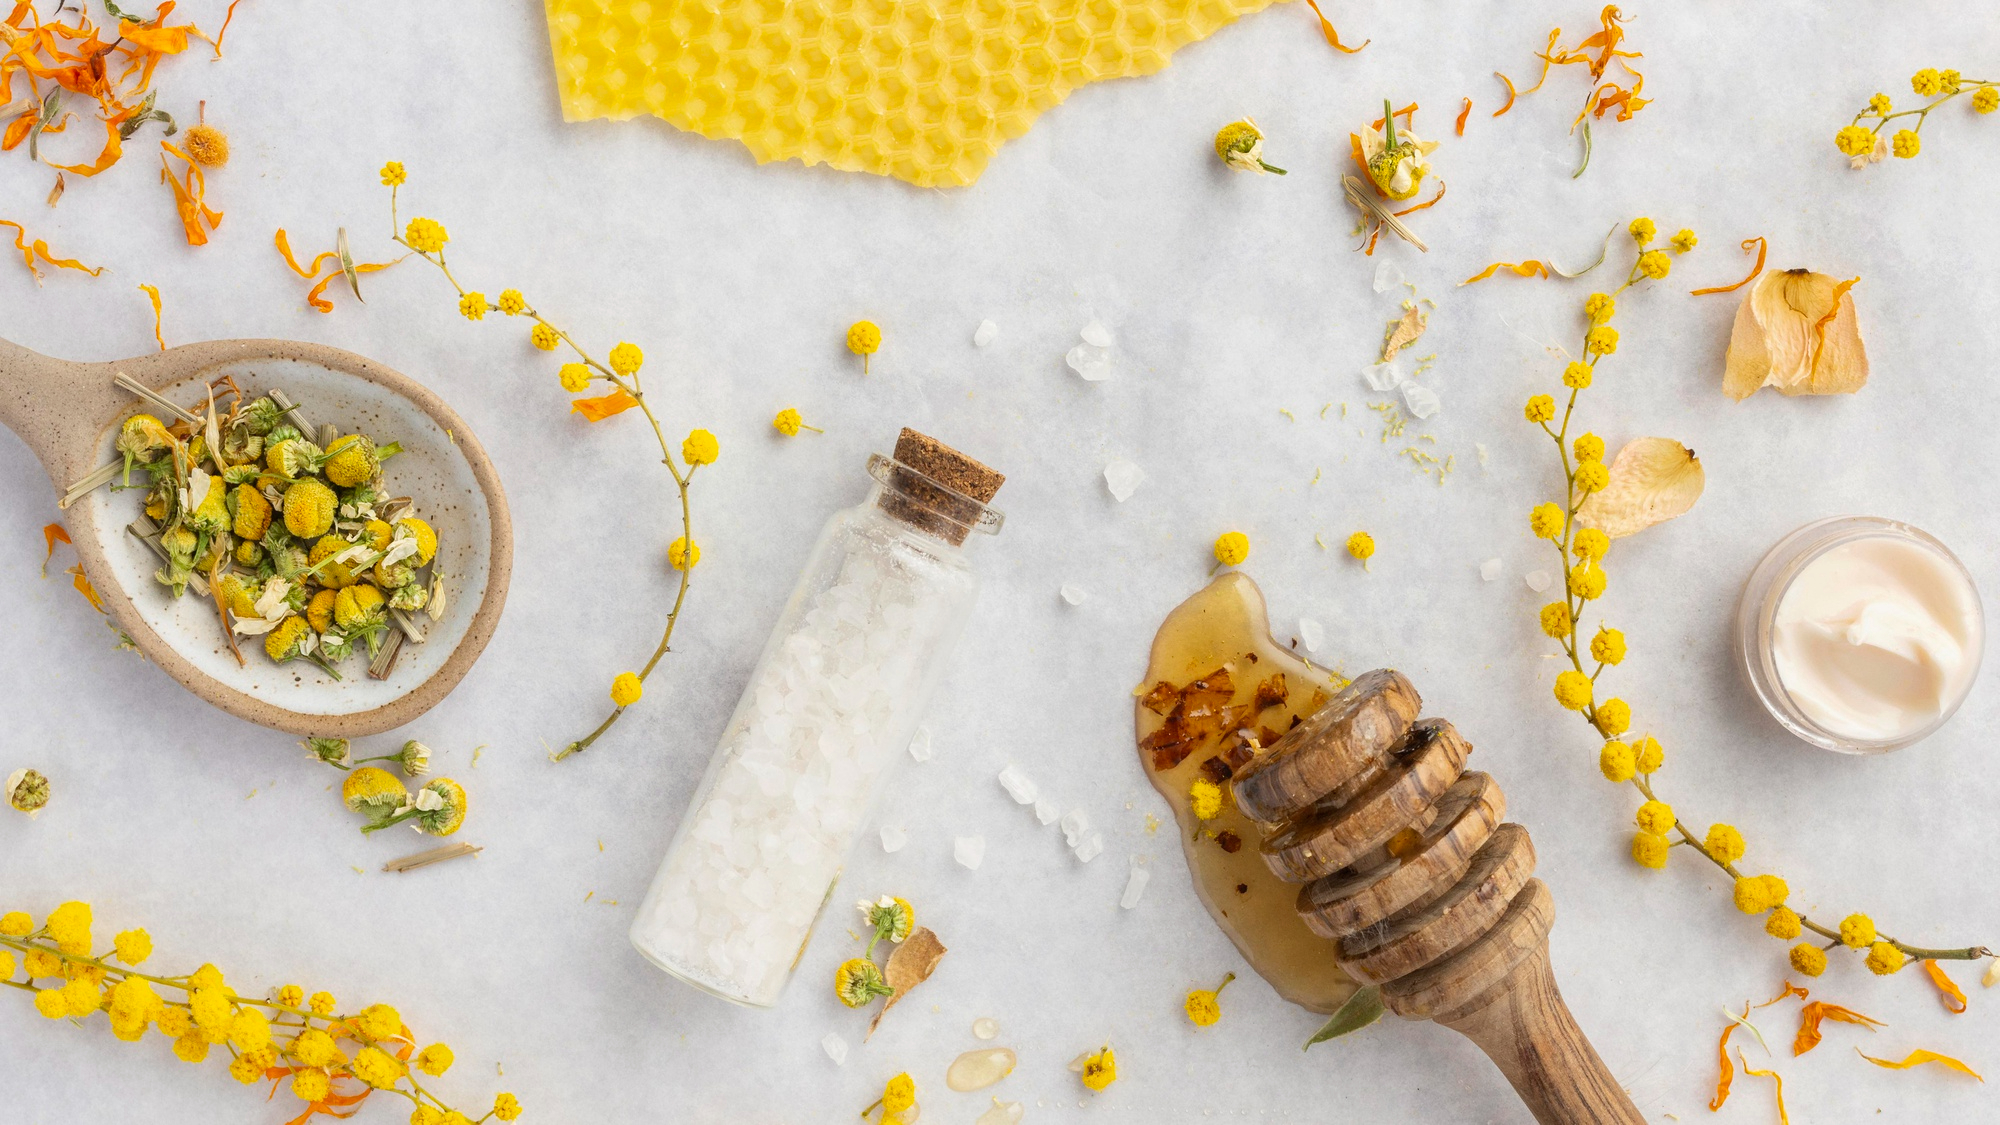
3. Honey and Chamomile Hydrator
Honey is a natural humectant, which means it locks in moisture. Chamomile is gentle and calming, making this hydrator ideal for sensitive skin.
Ingredients:
- 1 tablespoon of raw honey
- 1/2 cup of chamomile tea (cooled)
- 1 teaspoon of jojoba oil (optional)
How to Make It:
- Brew a cup of chamomile tea and let it cool.
- Mix the honey and chamomile tea in a bowl.
- Add jojoba oil if you want extra hydration.
- Pour the mixture into a spray bottle.
How to Use: Spray it on your face before applying moisturizer or as a midday pick-me-up.
Why It Works: Honey attracts moisture, and chamomile calms irritated skin.
Helpful Links:
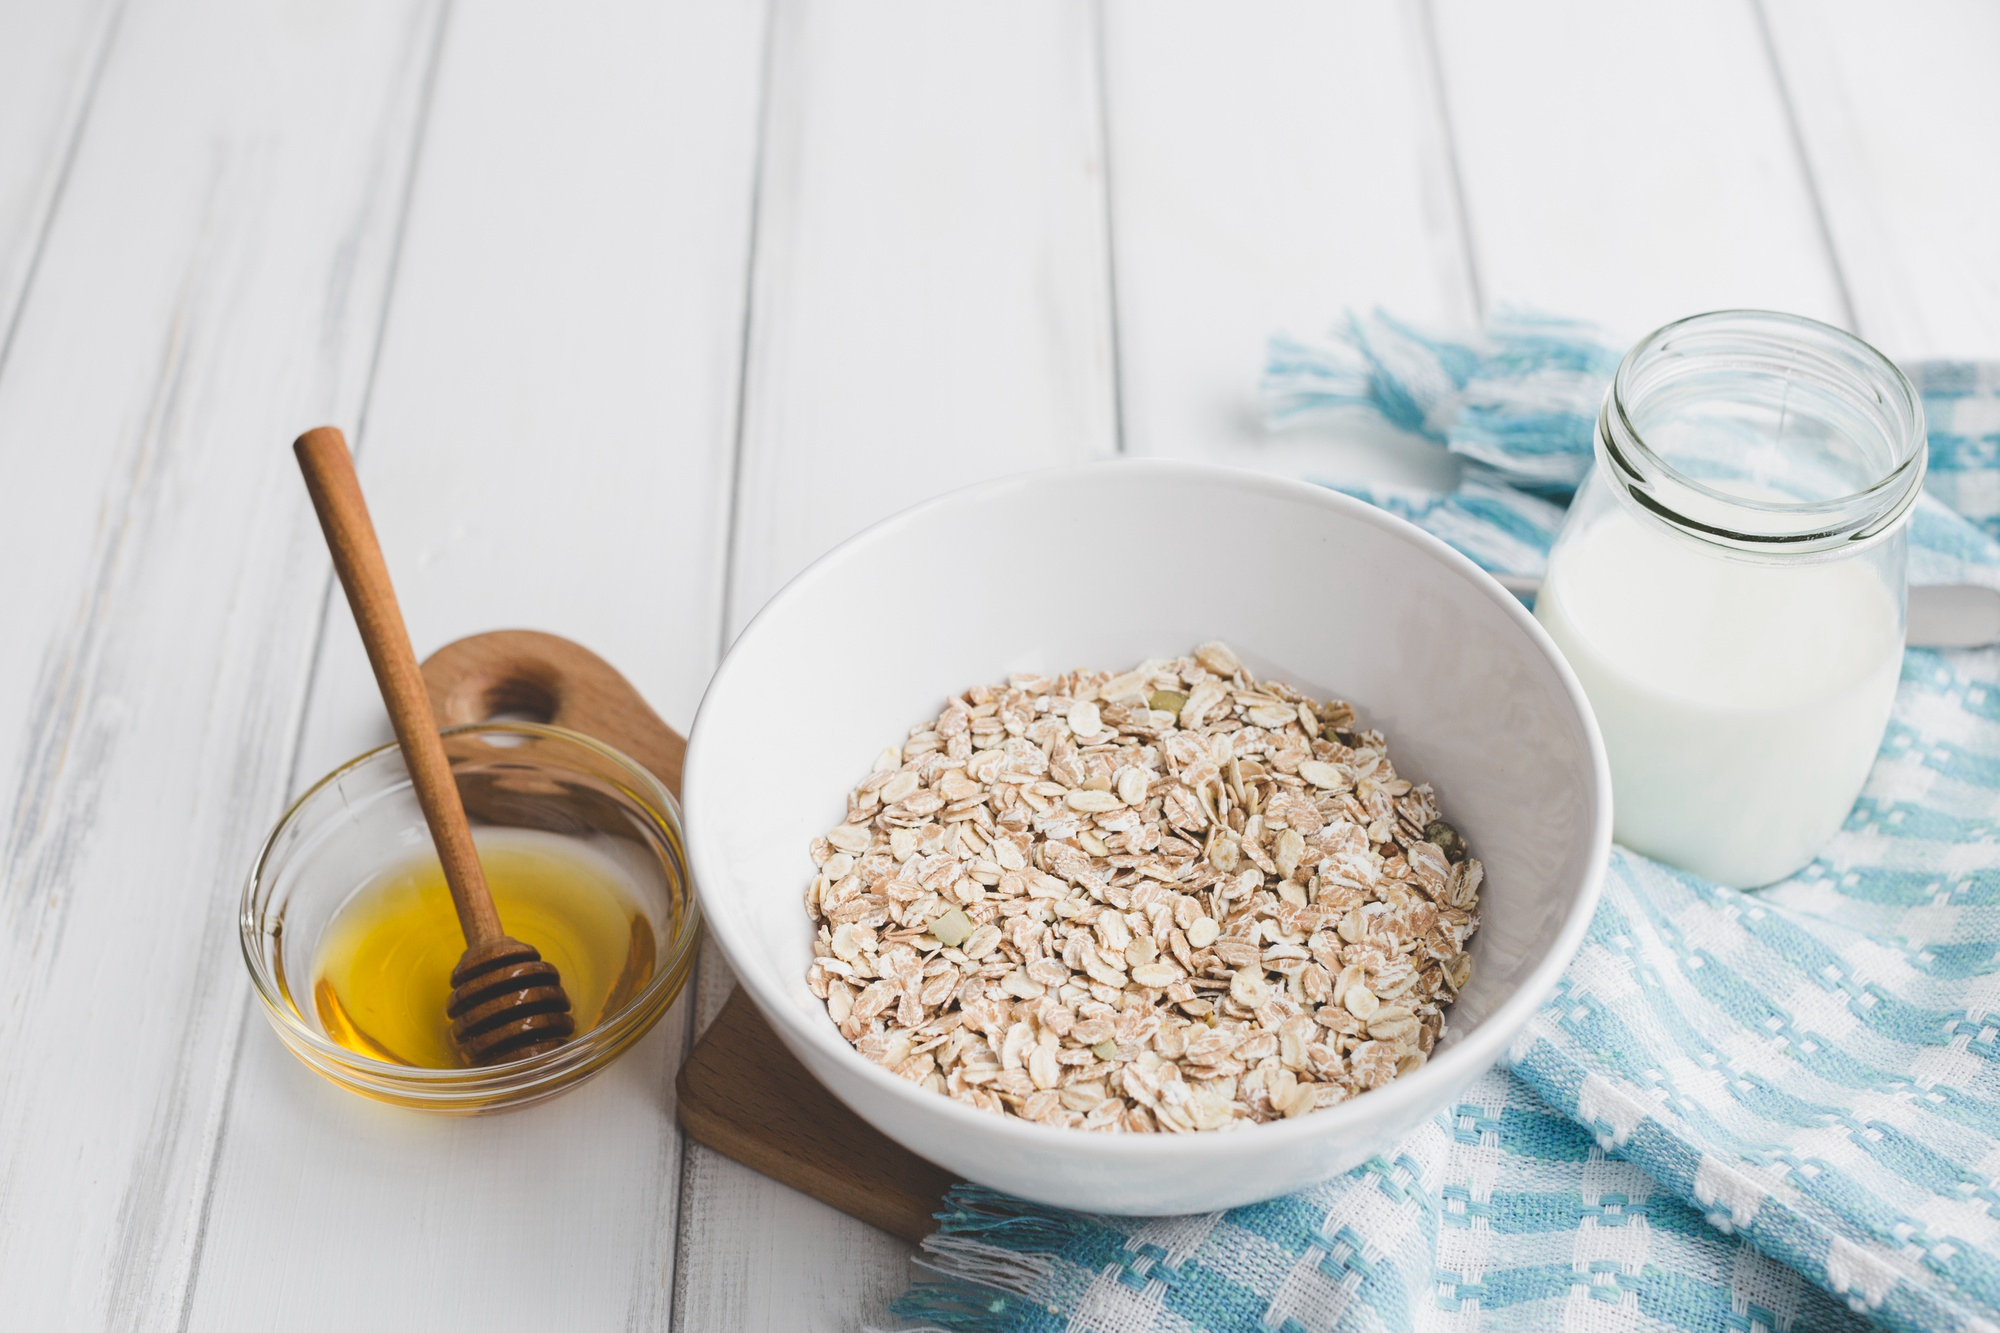
4. Oatmeal and Milk Hydrator
Oatmeal is great for soothing dry, itchy skin, and milk contains lactic acid, which gently exfoliates and hydrates.
Ingredients:
- 1 tablespoon of finely ground oatmeal
- 1/2 cup of milk (preferably whole milk)
- 1 teaspoon of almond oil (optional)
How to Make It:
- Grind oatmeal into a fine powder using a blender or coffee grinder.
- Mix the oatmeal powder and milk in a bowl.
- Add almond oil for extra nourishment.
- Transfer the mixture to a spray bottle.
How to Use: Spray it on your face and let it sit for 5 minutes before rinsing off with water.
Why It Works: Oatmeal soothes irritation, and milk hydrates and brightens your skin.
Helpful Links:
5. Lavender and Coconut Water Hydrato
Lavender is known for its calming scent, and coconut water is packed with electrolytes and nutrients. This hydrator is perfect for stressed or tired skin.
Ingredients:
- 1/2 cup of coconut water
- 5-6 drops of lavender essential oil
- 1 teaspoon of aloe vera gel (optional)
How to Make It:
- Mix coconut water and lavender essential oil in a bowl.
- Add aloe vera gel if you want a thicker consistency.
- Pour the mixture into a spray bottle.
How to Use: Spray it on your face before bed or whenever you need a quick refresh.
Why It Works: Lavender relaxes your mind, and coconut water hydrates and nourishes your skin.
Helpful Links:
Tips for Creating Your Custom-Blend Hydrator
- Patch Test First: Always test your hydrator on a small area of your skin to make sure you’re not allergic to any ingredients.
- Use Fresh Ingredients: Fresh, natural ingredients work best and are less likely to irritate your skin.
- Store Properly: Keep your hydrator in a cool, dark place or in the fridge to extend its shelf life.
- Experiment: Don’t be afraid to mix and match ingredients to find what works best for your skin.
Benefits of Using a Custom-Blend Hydrator
- Personalized Care: You can address your specific skin concerns, like dryness, acne, or sensitivity.
- Natural Ingredients: Avoid harmful chemicals and use only what’s good for your skin.
- Cost-Effective: DIY hydrators are often cheaper than store-bought products.
- Fun and Creative: Making your own hydrator is a fun way to pamper yourself.
Final Thoughts
Creating your custom-blend hydrator is a simple, fun, and effective way to take care of your skin. With these 5 amazing ideas, you can experiment and find the perfect hydrator for your skin type. Remember, the key is to use fresh, natural ingredients and have fun with the process.
If you enjoyed this article, share it with your friends and family. And don’t forget to leave a comment below with your favorite hydrator recipe!
Relevant Links:
- DIY Skincare Tips
- Natural Ingredients for Glowing Skin
- How to Store DIY Skincare Products
- Essential Oils for Skin Care
Happy hydrating! Your skin will thank you. 🌟
FAQ: How to Create Your Custom-Blend Hydrator? 5 Amazing Ideas
Creating your own custom-blend hydrator can be exciting, but it’s natural to have questions. Here are 10 frequently asked questions about DIY hydrators, along with detailed answers to help you get started and make the most of your skincare journey.
1. What is a custom-blend hydrator, and why should I make one?
A custom-blend hydrator is a DIY skincare product made from natural ingredients tailored to your skin’s specific needs. You should make one because:
- It allows you to control what goes on your skin, avoiding harmful chemicals.
- It’s cost-effective compared to store-bought products.
- You can customize it to address your unique skin concerns, like dryness, acne, or sensitivity.
2. What ingredients do I need to make a hydrator?
The ingredients depend on your skin type and the recipe you choose. Common ingredients include:
- Aloe vera gel (for hydration and healing)
- Rosewater (for balancing pH)
- Green tea (for antioxidants)
- Cucumber (for soothing)
- Honey (for locking in moisture)
- Essential oils (for fragrance and added benefits)
Always choose fresh, natural ingredients for the best results. Check out this guide to natural skincare ingredients for more ideas.
3. Can I use essential oils in my hydrator?
Yes, but with caution. Essential oils are highly concentrated and should always be diluted. Use only 2-3 drops per recipe, and mix them with a carrier oil (like jojoba or almond oil) or water. Avoid using essential oils if you have sensitive skin or allergies. Learn more about essential oils for skincare.
4. How do I know which hydrator is best for my skin type?
Here’s a quick guide:
- Dry skin: Use hydrators with aloe vera, honey, or glycerin.
- Oily skin: Opt for green tea, cucumber, or witch hazel.
- Sensitive skin: Stick to gentle ingredients like chamomile or oatmeal.
- Combination skin: Try a mix of hydrating and balancing ingredients, like rosewater and aloe vera.
5. How long do DIY hydrators last?
Since DIY hydrators don’t contain preservatives, they typically last 1-2 weeks when stored in the fridge. Always use clean containers and tools to extend their shelf life. If you notice any changes in smell, color, or texture, discard the product immediately.
6. Can I use my hydrator every day?
Yes, most DIY hydrators are gentle enough for daily use. However, if you have sensitive skin, start by using them 2-3 times a week to see how your skin reacts. Always patch-test new ingredients before applying them to your face.
7. What’s the best way to store a DIY hydrator?
Store your hydrator in a clean, airtight container (like a spray bottle or glass jar) in the fridge. This helps preserve the freshness of the ingredients and provides a cooling effect when applied. Check out these tips for storing DIY skincare products.
8. Can I add preservatives to make my hydrator last longer?
While you can add natural preservatives like vitamin E oil or grapefruit seed extract, it’s best to make small batches and use them within 1-2 weeks. Adding synthetic preservatives can defeat the purpose of creating a natural product.
9. What if I don’t have all the ingredients for a recipe?
No problem! You can substitute ingredients based on what you have at home. For example:
- Replace rosewater with plain water or green tea.
- Use coconut water instead of aloe vera gel.
- Swap honey for glycerin or jojoba oil.
The key is to experiment and find what works best for your skin.
10. Are DIY hydrators safe for all skin types?
Yes, DIY hydrators are generally safe for all skin types, but it’s important to:
- Patch-test new ingredients to check for allergies or irritation.
- Avoid ingredients that you know irritate your skin.
- Start with simple recipes and gradually add more ingredients as you understand how your skin reacts.
If you have severe skin conditions like eczema or rosacea, consult a dermatologist before trying DIY skincare.