
Hello, lovely readers!
Let’s talk about that little bottle of magic that lives in our beauty drawers: nail glue. Specifically, let’s talk about Beauty Secrets Nail Glue. If you’re into doing your own nails at home, you’ve probably seen this small, iconic bottle on the shelves of Sally Beauty or online.
It’s a budget-friendly hero for fixing a broken nail, applying a false tip, or carefully placing a glitter gem. But if you’re anything like me, you’ve also had a few… mishaps. The glue that ends up everywhere except the nail. The finger that gets accidentally stuck to something it shouldn’t. The gem that flies across the room never to be seen again!
I’ve been there. But after years of trial and error (and many, many bottles of glue), I’ve learned that the secret to a perfect manicure isn’t just the glue itself—it’s how you use it.
Also Read: Beyond the Unboxing: A Deep Dive into This Month’s Allure Beauty Box
This article is your ultimate guide. I’m sharing my five biggest pro tips for using Beauty Secrets Nail Glue to get a salon-quality finish at home. These are the simple tricks that will change your nail game forever, making your manicures last longer and look infinitely more professional.
So, grab your glue, and let’s get started!
First Things First: What is Beauty Secrets Nail Glue?
Before we dive into the tips, let’s quickly cover the basics.
Beauty Secrets is a brand you’ll find in Sally Beauty stores here in the UK. They’re famous for their professional-quality nail products that won’t break the bank. Their nail glue is one of their most popular items.
It’s a clear, liquid adhesive that comes in a small bottle with a fine tip. It’s designed to be strong and fast-drying, making it perfect for:
- Applying false nails and tips.
- Fixing a broken or split natural nail.
- Attaching nail art, like charms and gems.
- Securing loose ends on a classic manicure.
It’s a powerful little product, and with the right technique, it can work wonders.
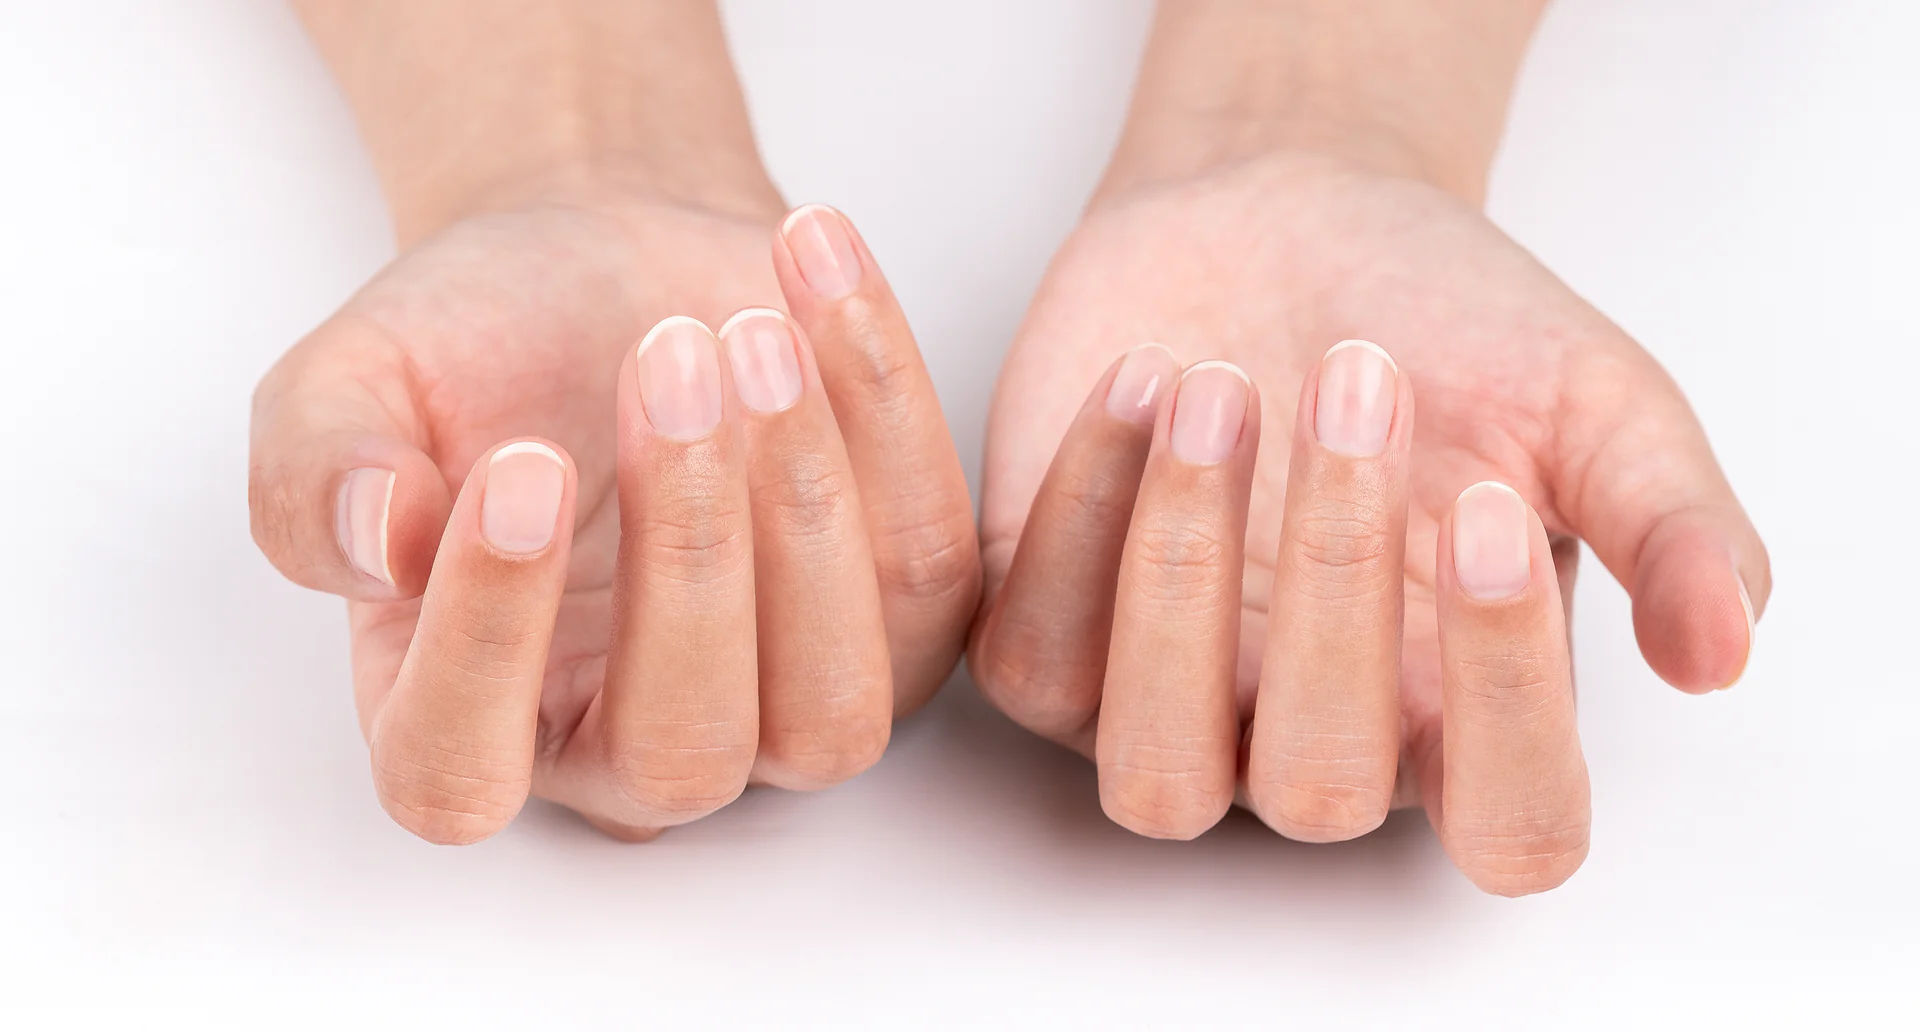
Pro Tip #1: The Prep is Everything – Create the Perfect Canvas
This is the most important tip, and it happens before you even unscrew the glue cap. If your nail isn’t prepared properly, even the best glue in the world won’t hold.
Step-by-Step Preparation:
- Remove All Old Polish: Start with completely clean, bare nails. Use a good acetone-free nail polish remover like Barry M Gingerly Nail Polish Remover to avoid drying out your nails.
- Shape and Buff: Gently shape your nails with a file. Then, take a nail buffer (like a 7-Way Nail Buffer Block) and lightly buff the surface of your nail. You don’t want to sand it down; you just want to create a slightly rough surface for the glue to grip onto. This is called “etching” the nail.
- Dehydrate and Cleanse: This is the pro secret! Oils and moisture are the enemies of adhesion. Soak a cotton pad in rubbing alcohol (isopropyl alcohol) or use a dedicated nail cleanser. Wipe each nail thoroughly. This step removes any last traces of dust and oil, leaving a perfectly clean, dry surface for the glue to bond to.
Why this works: Think of it like painting a wall. You wouldn’t paint over dirt or grease. You’d clean and sand it first. Your nails are the same! Proper prep ensures a strong bond that lasts for days, not hours.
Also Read: Ulta Beauty World 2026: A Deep Dive into The Tech, Ingredients & Products of Tomorrow
Pro Tip #2: Master the Dot – Less is Always, Always More
The biggest mistake everyone makes with nail glue is using too much. A huge glob of glue won’t stick better; it will just ooze out the sides, stick to your skin, and create a messy, lumpy base.
How to Apply the Perfect Amount:
- Shake the Bottle: Gently shake the glue bottle to make sure the formula is mixed.
- The “Pea-Sized” Dot: For a false nail, you only need a dot of glue about the size of a very small pea. Seriously, that’s it! For a gem or a small tip, you need even less—just a tiny pinprick.
- Place it Strategically: Don’t just put the dot in the centre. Place it towards the cuticle end and the sides of the nail, where adhesion is most crucial. This prevents the infamous “air bubble” in the middle of the nail.
- Spread it Gently: Once you place the false nail on top, press down gently but firmly for 10-15 seconds. The pressure will naturally spread the glue out thinly and evenly underneath.
Why this works: A thin, even layer of glue creates a stronger seal and dries faster than a thick glob. It also prevents that dreaded overflow that glues your finger to the nail.
Pro Tip #3: The 45-Degree Angle – Your Secret Weapon for Placement
Applying a false nail straight on is a recipe for disaster. It’s awkward, and you’re more likely to get glue everywhere and trap air bubbles.
The Professional Technique:
- Apply your small dot of glue to your natural nail (or to the back of the false nail—whichever you prefer).
- Position the false nail at a 45-degree angle. The tip of the false nail should be touching your natural nail near the cuticle, but the rest should be lifted up.
- Gently roll the false nail down onto your natural nail, from the cuticle to the tip, like you’re closing a drawer.
- Apply firm pressure across the entire nail for a good 15-20 seconds to secure the bond.
Why this works: This rolling technique pushes the air out from under the nail as you go, preventing unsightly and weak air bubbles. It gives you so much more control and results in a seamless, flat application.
Pro Tip #4: Instant Clean-Up – How to Fix Mistakes Like a Pro
Even experts get glue on their skin sometimes. The key is to clean it up immediately before it dries. Don’t panic!
Your Emergency Clean-Up Kit:
- Cotton Buds (Q-Tips): These are your best friends.
- A small pot of warm, soapy water or, even better, a nail glue remover/debonder like Beauty Secrets Nail Glue Remover.
The Method:
- Act Fast: As soon as you see glue on your skin, dip a cotton bud in your warm soapy water or remover.
- Gently Roll: Gently roll the soaked cotton bud over the glue on your skin. The moisture will start to break it down.
- Wipe Away: The glue should easily wipe away without smudging your manicure.
Why this works: Nail glue starts to set quickly, but it’s still soluble for a brief window. Acting fast means you can clean up mistakes without ruining your hard work, leaving you with a perfectly clean, professional-looking manicure.
Pro Tip #5: The Final Seal – Locking in Nail Art Forever
This tip is a absolute game-changer if you love adding gems, charms, or foils to your nails. There’s nothing worse than spending ages creating a design, only for the best bit to fall off after an hour.
How to Make Your Nail Art Indestructible:
- Apply your gem or charm using your tiny dot of glue and a damp orange wood stick for precision.
- Wait a full minute for the glue to set completely.
- Take your favourite top coat. A thick, glossy one like Seche Vite Dry Fast Top Coat is perfect.
- Carefully “wrap” the top coat over and around the edges of the gem or charm. Don’t be shy—create a tiny seal around it. Avoid brushing the gem directly too much, as this can dislodge it.
Why this works: The top coat acts like a clear shield, sealing the edges of the nail art so it can’t get caught on anything. It locks it in place, adding days of wear to your beautiful design.
Final Thoughts: Your Salon-Perfect Manicure Awaits
And there you have it! My five pro tips for transforming how you use Beauty Secrets Nail Glue. It’s not about having a steady hand or years of experience; it’s about knowing a few simple techniques.
Remember: Prep is key, less is more, angle is everything, clean up fast, and seal it tight.
With these tricks in your beauty toolkit, you can say goodbye to nail disasters and hello to beautiful, long-lasting, flawless manicures that you did yourself. You’ll save money, have fun, and your nails will look incredible.
Now, I’d love to hear from you! What’s your biggest nail glue struggle? Do you have any tips of your own? Share them in the comments below!
Frequently Asked Questions: Mastering Your Nail Glue
You’ve asked some brilliant questions about getting the most out of your Beauty Secrets Nail Glue. I’ve compiled the most common ones here to give you all the details you need to become a true at-home nail pro.
Q1: Where is the best place to buy Beauty Secrets Nail Glue in the UK, and is it often on sale?
A: The primary and most reliable stockist is Sally Beauty, as it’s their own brand. You can purchase it in their physical stores or online.
- Sales & Loyalty: Sally Beauty frequently runs promotions and offers a loyalty programme. It’s worth signing up for their newsletters or checking their website’s sale section, as you can often get it for a discounted price or as part of a multi-buy deal with other nail essentials.
- Other Retailers: It can sometimes be found on Amazon or eBay, but caution is advised. Always ensure you are buying from a highly rated, official seller to avoid receiving old, expired, or counterfeit products that may not work effectively.
Q2: How long does an opened bottle actually last before it goes bad and dries out?
A: Nail glue has a relatively short shelf life once opened because exposure to air begins to cure the formula.
- Typical Lifespan: An opened bottle, if the lid is screwed on tightly immediately after each use, should remain effective for 3-6 months.
- Maximising Longevity: Store it in a cool, dark, and dry place (not a humid bathroom cabinet). Ensure the nozzle is completely clean before capping it to prevent the lid from sealing shut.
- Signs it’s Expired: If the glue becomes thick, stringy, or turns a cloudy yellow colour, it has started to degrade and will not create a strong bond. It’s time to replace it.
Q3: What is the absolute safest way to remove false nails or tips applied with this strong glue?
A: This is crucial for protecting the health of your natural nails. Never peel or pry them off.
- The Soaking Method: This is the gold standard. Soak a cotton ball in an acetone-based nail polish remover. Place it directly on your nail and wrap your fingertip tightly in aluminium foil to hold it in place.
- The Process: Wait for 10-15 minutes. The acetone will break down the glue bond. After this time, gently twist the false nail. It should slide off easily. If there’s any resistance, re-soak for another 5 minutes. Afterwards, moisturise your nails and cuticles with a rich oil like Burts Bees Lemon Butter Cuticle Cream.
Q4: Can I really use this glue to mend a completely broken natural nail?
A: Yes, it’s excellent for emergency repairs, but it should be done correctly.
- The Technique: First, gently buff the area of the break to create a rough surface. Apply a tiny dot of glue to hold the broken pieces together. For a stronger, more durable fix, place a small piece of a tea bag or a silk wrap patch over the break and saturate it with another tiny drop of glue. Once completely dry, gently buff the patch until it’s smooth and flush with your nail. This creates a reinforced “scaffold” that holds the break until your nail grows out.
Q5: Is it better to put the glue on the fake nail or directly onto my natural nail?
A: This is largely personal preference, but each method has a slight advantage.
- On the Fake Nail: This can give you more control over the amount and placement, ensuring you don’t accidentally use too much on your natural nail where it could flood the cuticle.
- On the Natural Nail: This allows you to see exactly where the glue is going, helping you avoid the skin. Many pros prefer this for precision.
- Pro Suggestion: Try both! Start by applying it to your natural nail for more control over placement.
Q6: The glue always gets clogged in the tip. How can I prevent this and unclog it?
A: A clogged tip is a common frustration but is easily preventable and fixable.
- Prevention: The number one rule is to wipe the tip clean with a tissue immediately after every single use before recapping it. This stops dried glue from building up.
- The Fix: If it’s already clogged, gently scrape the very end of the opening with a pin or a sharp manicure stick. You can also carefully pierce the clog from the inside by inserting the pin into the tip. Never use scissors to cut the tip, as this will make the opening too wide and cause glue to flood out.
Q7: What should I do if I get glue on my skin or, worse, glue my fingers together?
A: Don’t panic! Act quickly and calmly.
- On Skin: If it’s still wet, immediately wipe it away with a damp tissue. If it has already dried, do not pull it off. Soak the area in warm, soapy water and gently roll a cotton bud over the glue to loosen it. You can also use a dedicated nail glue remover which is designed to dissolve the bond without harsh rubbing.
- Fingers Stuck Together: This happens to everyone! Gently and slowly roll the skin apart—do not pull. Apply a soakable solvent like warm soapy water, acetone, or nail glue remover to the seam where the fingers are joined and continue to gently roll and separate them.
Q8: Why is the “less is more” rule with glue so important?
A: Using a small, pea-sized dot is critical for three reasons:
- Stronger Bond: A thin layer of glue creates a tighter, more secure seal and cures (dries) faster and more completely than a thick, goopy layer.
- Prevents Flooding: Too much glue will flood out onto your cuticles and skin as you press the nail down. This creates a messy manicure and can cause lifting because the glue is bonding to skin, which moves and sheds, rather than just to your nail plate.
- Easier Removal: A thinner layer of glue is much easier to dissolve when it’s time to remove your nails, causing less stress on your natural nails.
Q9: Can I use a regular top coat to seal in my gems, or do I need a specific one?
A: You can use a regular top coat, but some work better than others.
- The Best Choice: A thick, viscous, quick-dry top coat like Seche Vite is ideal. Its thicker formula helps it “dome” and create a stronger seal around the base of the gem.
- Technique is Key: Apply the top coat carefully around the edges of the gem, “wrapping” it to create a secure barrier. Avoid over-brushing the top of the gem itself, as this can dislodge it or make your brush bristles sticky.
Q10: My nails are thin and weak. Will using this glue damage them further?
A: The glue itself does not damage your nails. The damage comes from improper removal (prying nails off) or from constantly wearing enhancements without giving your nails a break.
- For Healthy Nails: Always follow the safe soaking removal method outlined above. After removal, give your natural nails a “break” for a few days to rehydrate and recover. Use a strengthening treatment like OPI Nail Envy during this time. The glue is safe for occasional use if you care for your nails properly underneath.